Shadowrocket Official Site · Official Manual
Shadowrocket Quick Start
Start with an existing subscription or server details, choose a routing mode, connect, and then verify that actual access matches your expectations.
Add Server: Add a server or import a subscription
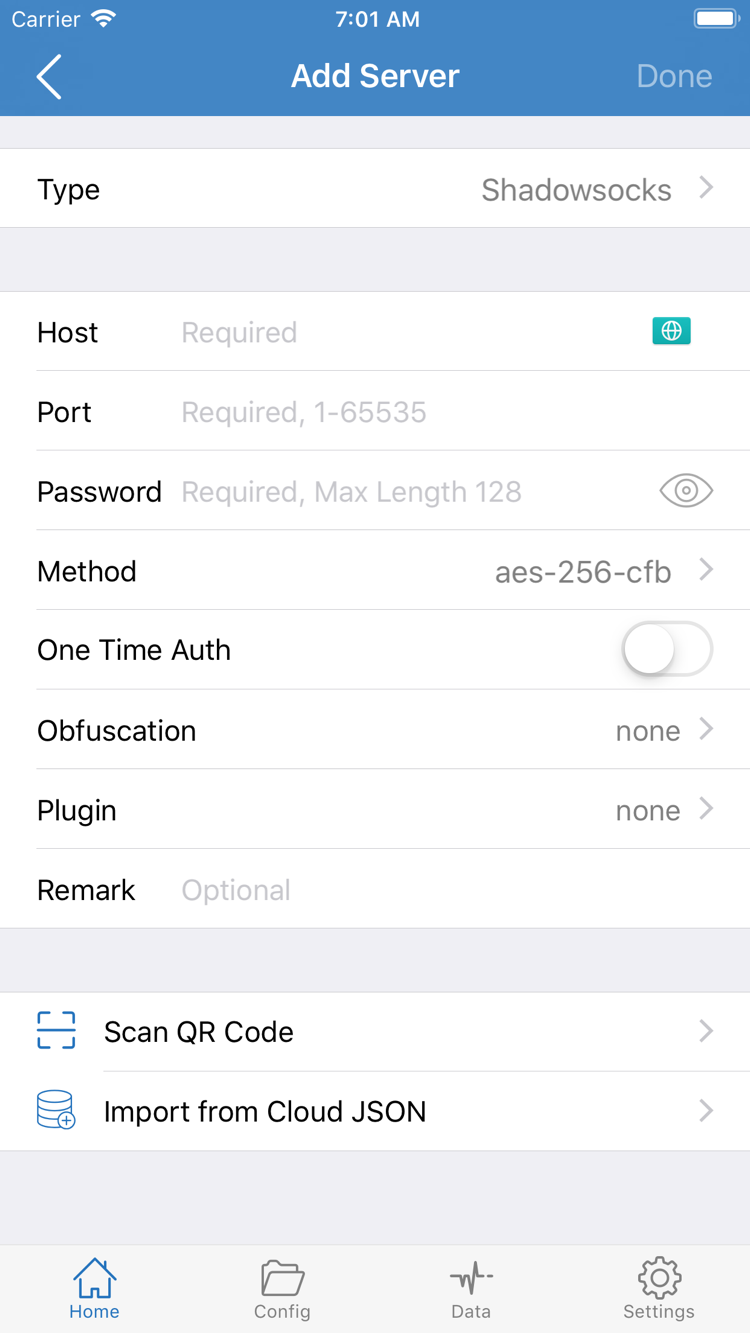
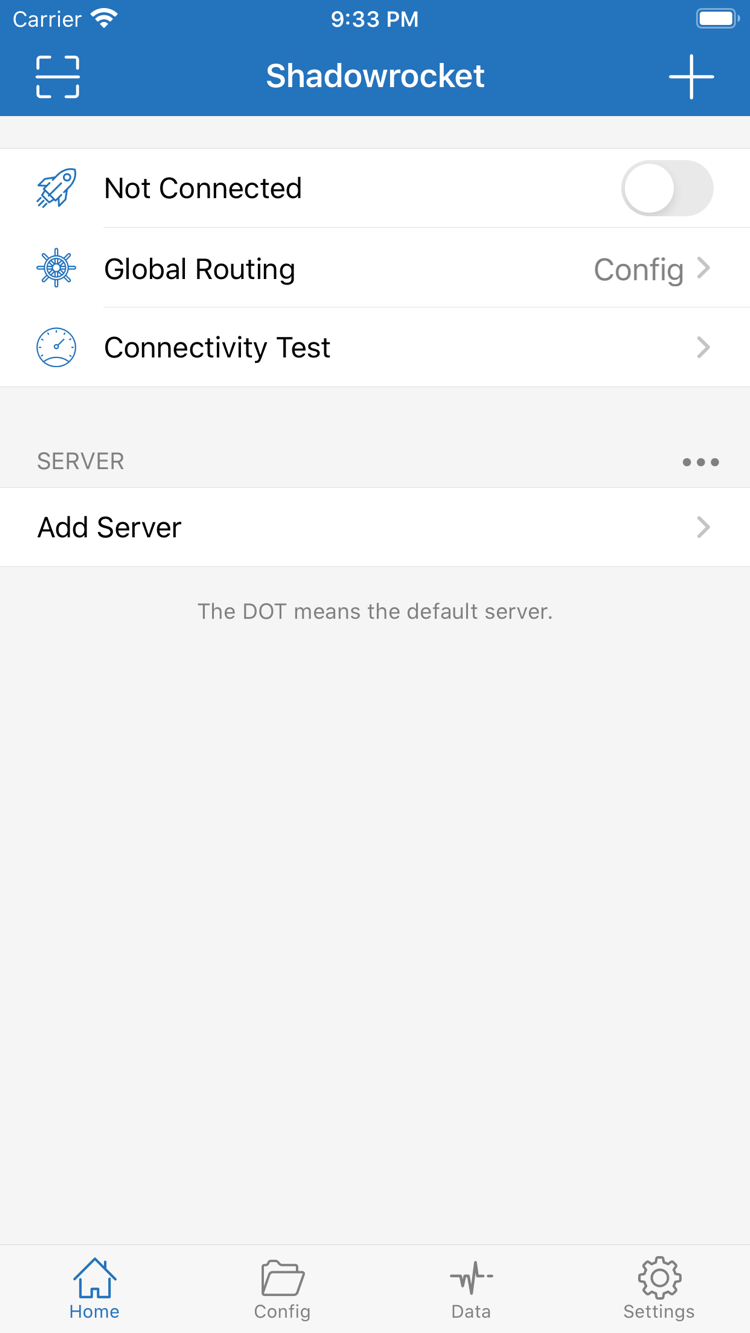
Open Shadowrocket and stay on Home. Find the SERVER group and tap Add Server. First identify which type of information you have: a subscription link retrieves a set of servers, while a separate host, port, and authentication details are used to add a single server. Choose either method; you do not need to enter the same item twice to connect.
Adding a single server
In Type, select the protocol specified in your server details, then fill in the fields shown by the app. For example, after selecting Shadowsocks, enter the hostname or address in Host, the port in Port, and the password in Password. Make sure Method matches the details you were given. Do not combine the host, port, and path into a single value in Host. The fields vary by protocol. If the fields shown do not match your details, check Type before proceeding; do not try entering values in the password or other authentication fields at random.
Importing a subscription
In Type, select Subscribe, paste the complete link into the address field, and save it. When copying, keep the question mark and all parameters after it. Remove any leading or trailing spaces or line breaks copied from a message. Do not enter a subscription link in the Host field for an individual server, and do not create a separate record for each item in the subscription first.
After saving, return to Home. A manually added server should appear in the list. For a subscription import, make sure selectable entries actually appear in the list rather than only seeing the subscription name. Tap a server that matches your details for the first test. A saved record only confirms that the details were stored; it does not show whether the server is reachable. If the list is still empty, go to import troubleshooting first; there is no need to change the routing mode yet.
Global Routing: Choose how connections are handled
After selecting a server, tap Global Routing on Home. This setting controls how traffic is handled; it is separate from your server selection. The server selection answers “which server to use when routing through a proxy,” while the routing mode answers “whether this connection uses a proxy.” Choose one mode for the test, then decide whether to switch based on the results.
- Config: Handles connections according to the rules in the active configuration file. On the same device, different destinations may connect directly, use the proxy, or be rejected. Choose this if you already have rules you want to use.
- Proxy: Routes traffic handled by the client through the proxy. If you do not yet have routing rules, you can use this briefly to test the selected server and check rule matching separately from server connectivity.
- Direct: Connections handled by the client are not forwarded through the proxy server. A page opening in this mode does not show that the selected server is working. To end this connection completely, turn off the switch on Home.
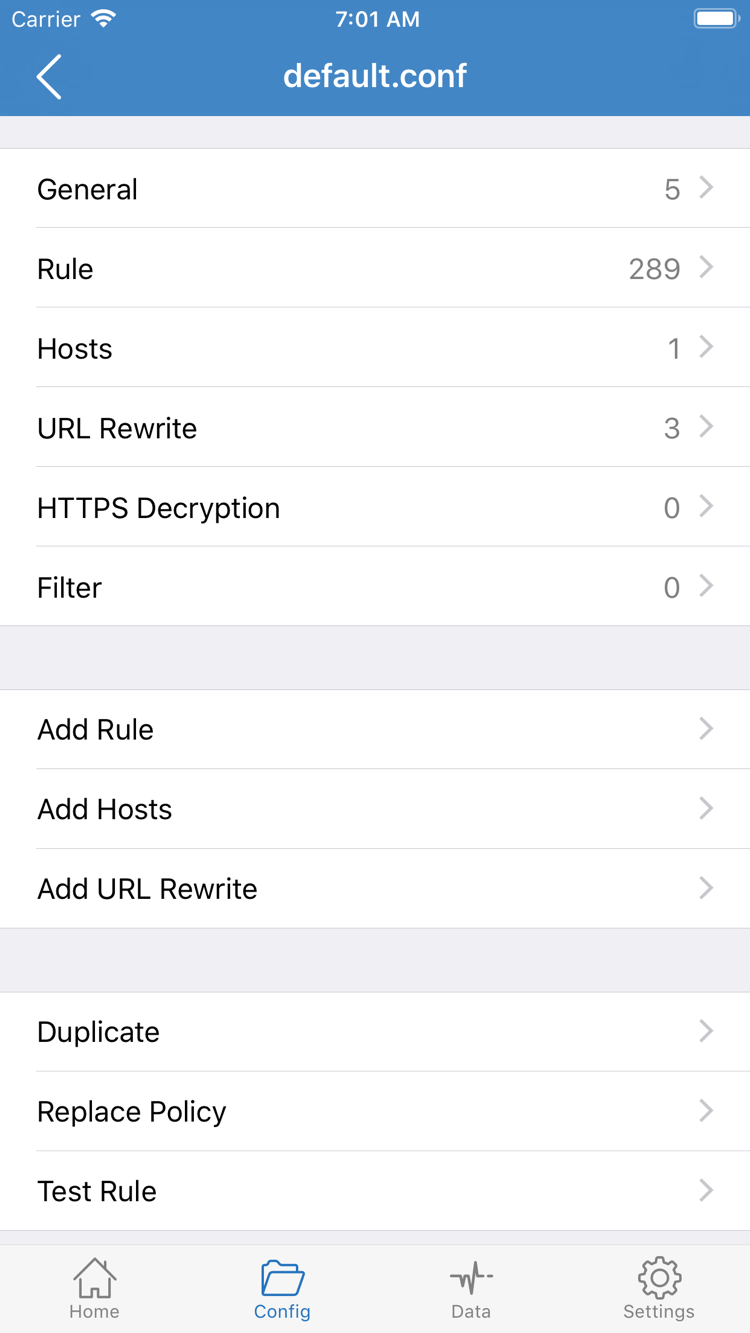
If you select Config, open Config at the bottom and confirm that the active file is the one you intend to use. Open the file to view its Rule section. Importing a subscription provides a server list; it does not automatically set up routing rules. If you are unsure of the configuration’s source or purpose, inspect it first. You do not need to edit it with Add Rule for your first connection.
Rules are matched in order, and the first matching rule usually determines how a connection is handled. If none of the preceding conditions match, the final FINAL rule is considered. For example, if the file has a DIRECT rule for a domain, a later FINAL,PROXY rule will not send that domain through the proxy just because it is the last line. For explanations of individual keywords, see the glossary. After checking the file, return to Home, confirm the mode shown in Global Routing, and turn on the connection.
Home: Turn on the connection and authorize the system prompt
On Home, confirm the selected item in SERVER and the mode in Global Routing. Then tap the switch beside Not Connected at the top. The first time, the system may ask whether Shadowrocket can add a VPN configuration. Make sure the prompt appears immediately after your action and shows the correct app name, then tap Allow. If the device requests authentication, follow the system prompts and return to Home.
This authorization lets the system establish a local network tunnel and route applicable traffic through the client. It is not a subscription login and does not verify your server password. If no prompt appears but the switch stays on, authorization may already have been granted on this device. If the switch turns off immediately after being enabled, do not keep retrying. Note the prompt and check whether you just denied authorization, the device already has another VPN connection, or the system restricts adding configurations.
Back on Home, wait for the top status to change from Not Connected to Connected before continuing. This status means the connection switch is active; it does not mean every external destination is accessible. During the first test, keep the same network connection. Switching between Wi-Fi and cellular while testing makes it difficult to tell whether a difference comes from the configuration or the network.
Connectivity Test: Test the server, then check actual access
Keep the server and mode you selected, tap Connectivity Test on Home, and check the result for the selected item when the test finishes. A response means the test returned a result using the current method. A timeout is a sign that needs further investigation. The test destination may differ from the one you open in a browser, so do not draw conclusions from a single success or timeout.
Next, switch to a browser, open a page that was accessible on the current network, and refresh it. Do not rely on an old page still open when you return to the browser; cached content does not prove that a new request was made. With Config selected, choose one destination that the active rules are expected to route through the proxy and another that should connect directly, then test each one. A page opening only confirms that the request completed. To check whether it used the expected route, consider the active rules and any available connection records.
If the test responds but only one domain is inaccessible, keep the same server and network, temporarily switch to Proxy, and retry that destination. Then switch back to the original mode. If the results differ, first review earlier matching conditions in the configuration file or the FINAL rule. If the results are the same in both modes, continue checking the destination and server connectivity. Do not rewrite the entire configuration based only on this comparison.
Record the current mode, test result, and affected domain. If all expected destinations work, the quick start is complete. If an issue remains, keep this test as a baseline and change just one condition at a time so you can identify which action changes the result.
Settings: Troubleshoot by where the failure occurs
No entries appear after saving a subscription. Return to Add Server, confirm that Subscribe is selected, then compare the address with the original and check that no part is missing. If updating the subscription still fails, ask the service provider who gave you the link whether it is still valid. For a manually added server, first check that the port and protocol match the details, then review the authentication parameters. An import problem happens before connection, so changing Global Routing will not fill in missing details.
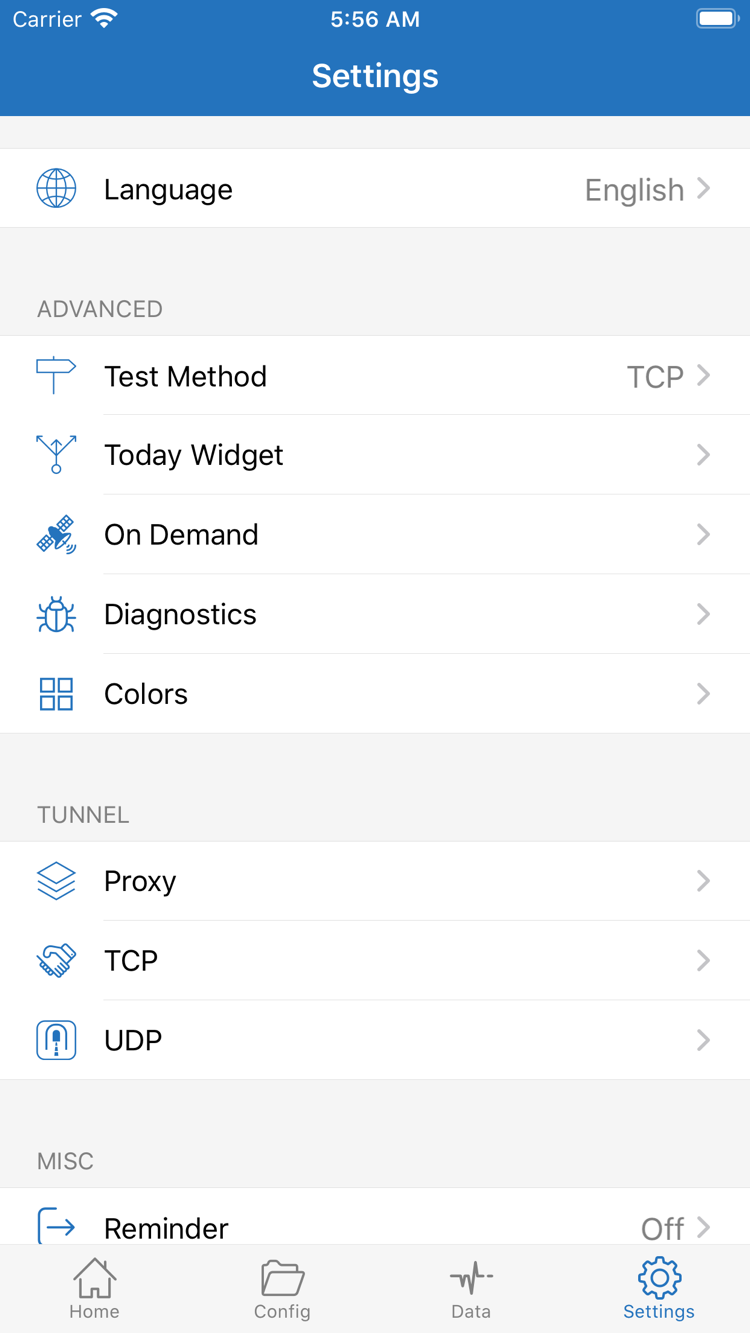
The switch will not stay on. First check whether the system allows a VPN configuration to be added. If you previously tapped Deny, return to Home, turn on the switch again, and follow the system prompt when it appears. If the device is managed by an organization that prohibits adding configurations, contact the device administrator; do not remove the management configuration. If the connection starts but later reconnects or disconnects on its own, check whether On Demand is enabled in Settings. Understand its conditions before deciding whether to adjust them.
The switch is on, but the test times out. Turn off the connection first and confirm that the current network can access pages you normally use. If a public Wi-Fi network requires a login or confirmation page, complete that step first. Return to the app and check Type, Host, Port, and the authentication parameters for the selected protocol. If your own subscription includes another server with a clearly different status, test it using the same network and mode. Do not change the server and routing rules at the same time.
The test returns a result, but access does not match expectations. Check Test Method in Settings to understand why the app test and actual access may produce different results. Then return to the configuration file and confirm which rule actually matched. If needed, open Diagnostics to view available information. Compare the time of the failure, network type, connection status, and action that triggered it. Before sharing a screenshot or diagnostics, remove complete subscription links, passwords, and other private fields.
For further checks by symptom, see Troubleshooting. If the issue occurred while obtaining the app from the store or restoring it on a new device, go to the genuine app guide; handle these separately from in-app settings.